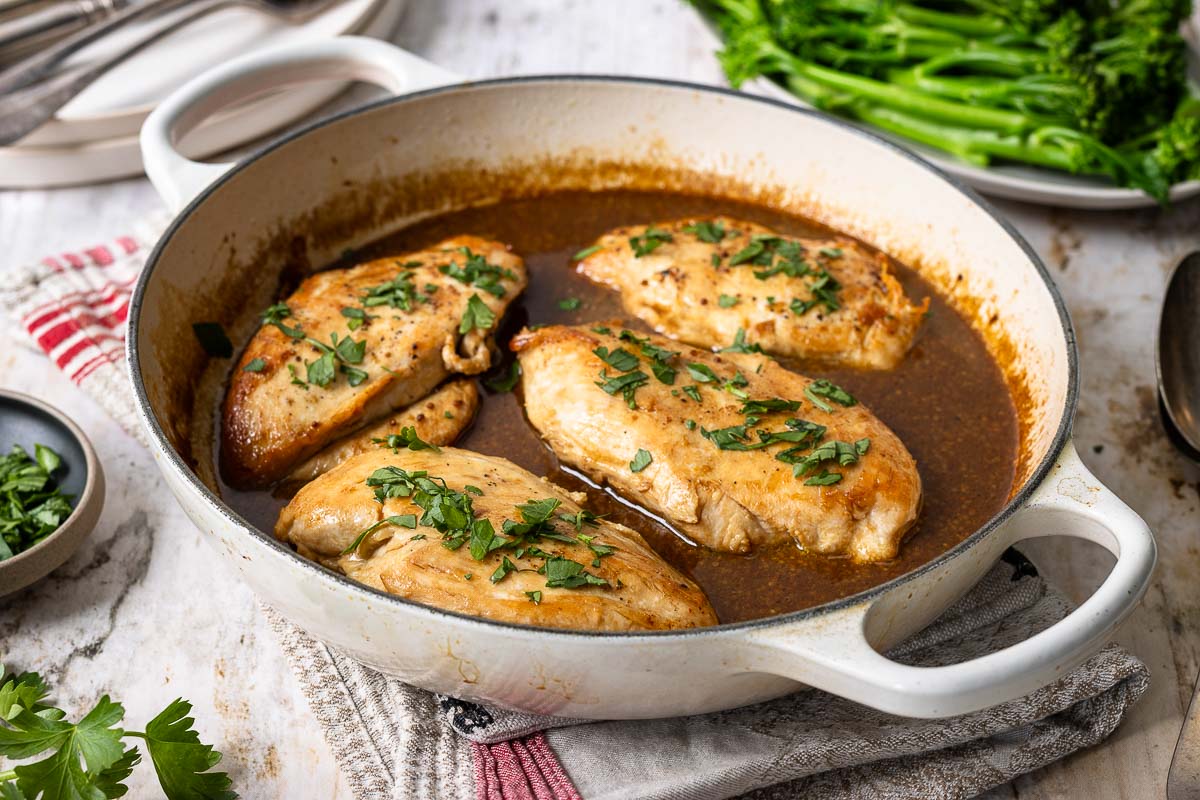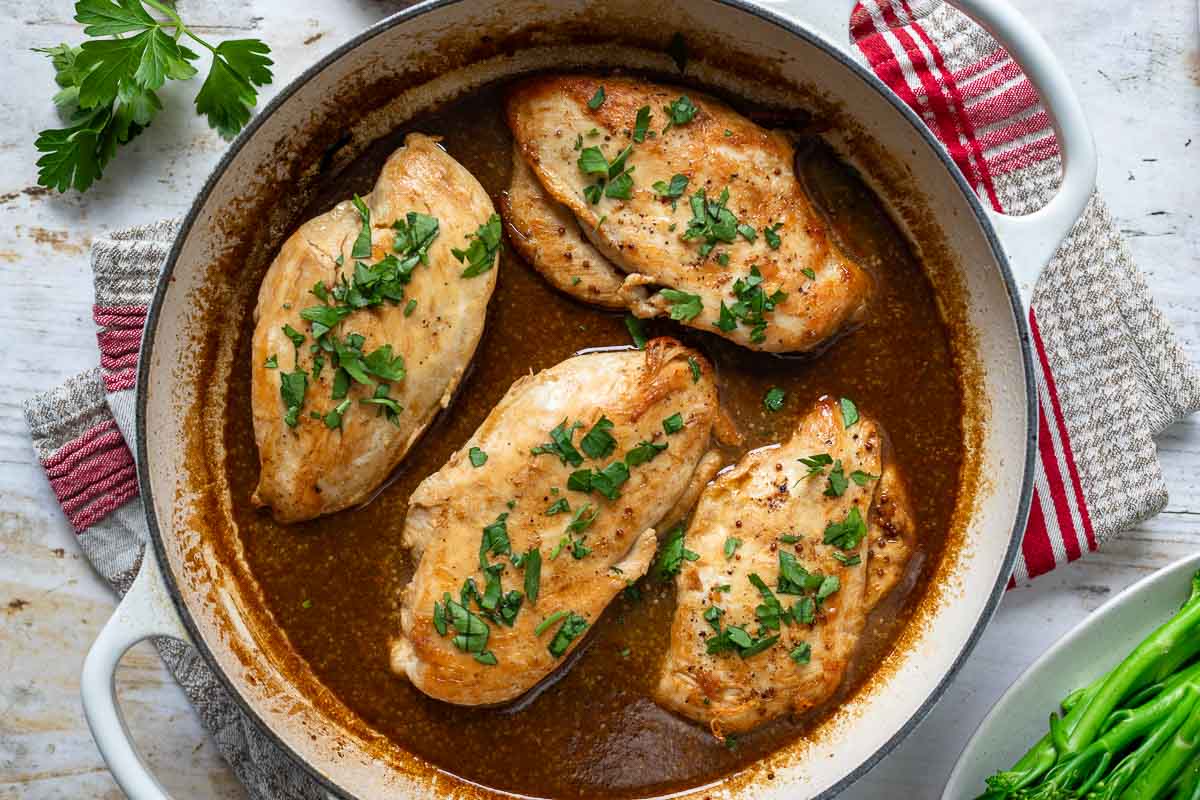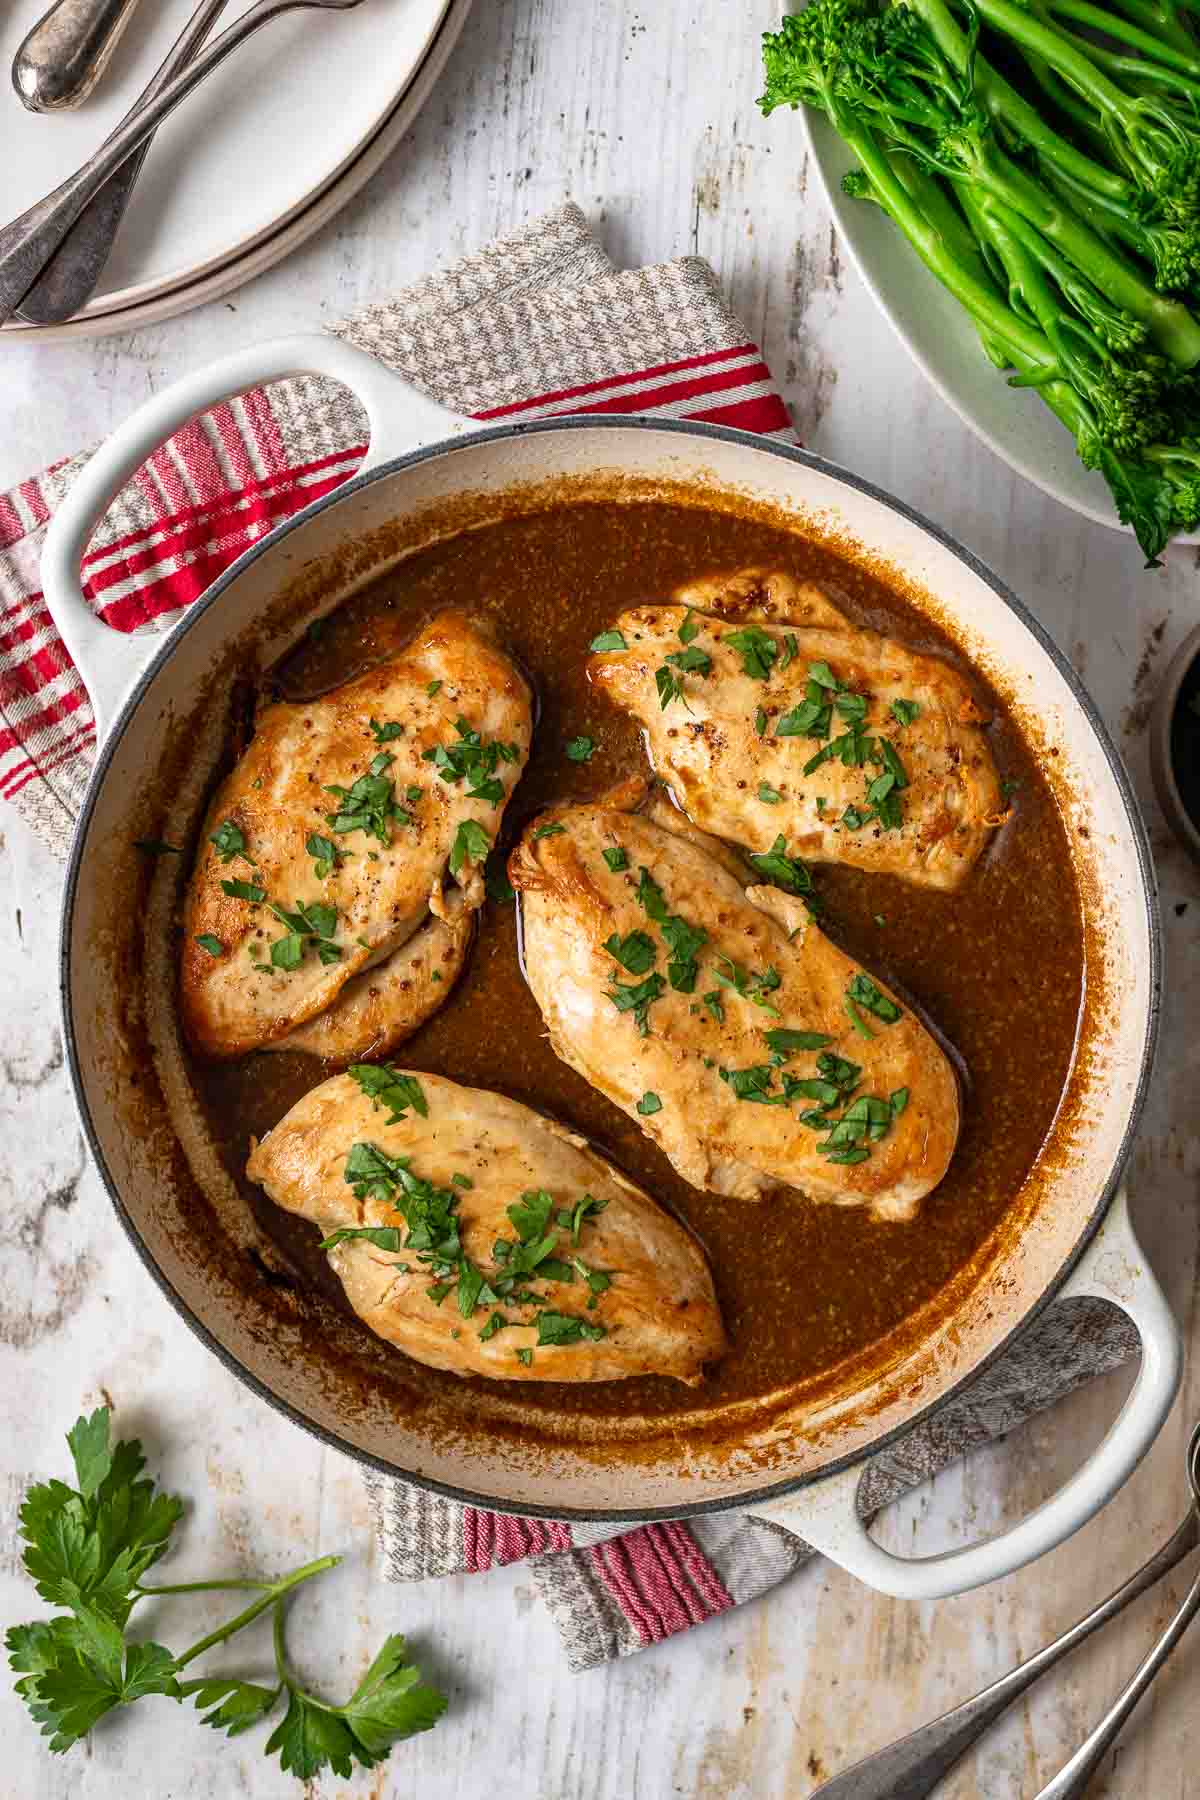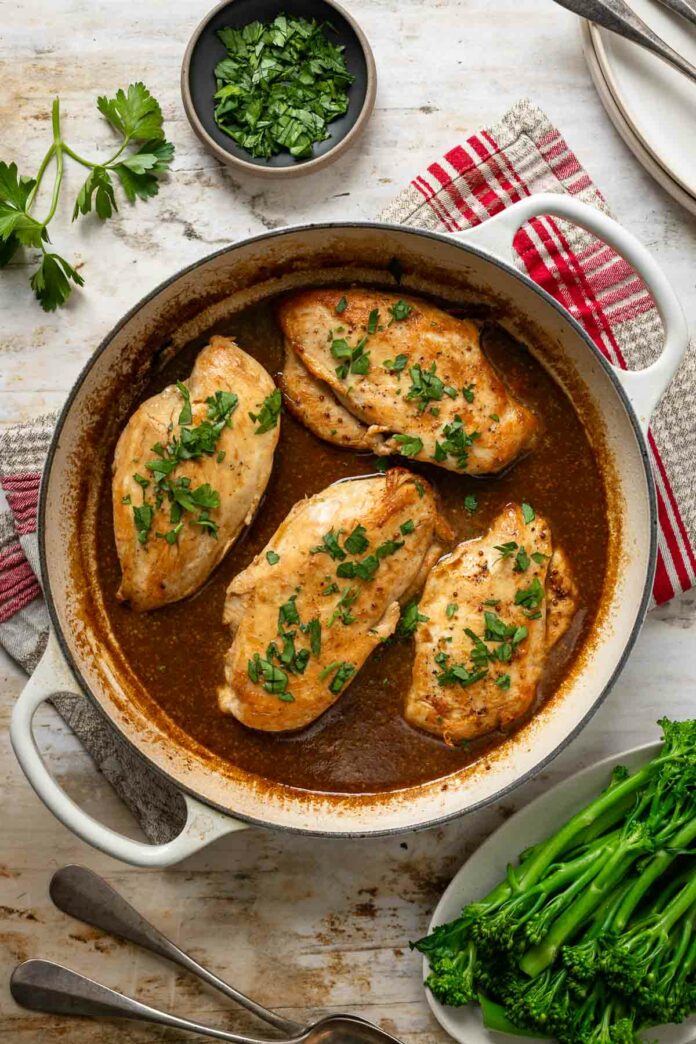
Easy Maple Mustard Chicken — Imagine the irresistible combination of sweet maple syrup and bold Dijon mustard, all jazzed up with a dash of sesame oil for that perfect flavour fusion. We start by searing the chicken breasts to golden perfection, locking in the juiciness. Then, it’s time to introduce a rich broth and our dynamic mustard sauce to the mix, letting everything simmer into sheer mouthwatering magic. A sprinkle of fresh parsley adds just the right touch of freshness and color. This dish isn’t just tasty—it’s a full-on flavour celebration in your mouth, with minimal effort! Get ready to savour every bite!
This easy chicken recipe totally redefines the classic honey mustard vibe by introducing a dual mustard complexity and the rich undertones of maple and sesame. Each bite bursts with layers of flavour that’ll leave you wondering why you haven’t been making it from scratch all along. Plus, with the simplicity of an easy stovetop method makes this the ultimate go-to for those nights when you’re short on time but craving something spectacular. Trust me, this Maple Mustard Skillet Chicken will have everyone at the table asking for seconds before they’ve even finished their firsts!
Key ingredients for Maple Mustard Chicken
Here’s what you’ll need for the Easy Maple Mustard Chicken recipe with each ingredient chosen to enhance the dish’s flavour:
Dijon Mustard: Essential for the sauce’s tangy depth. Mix in some grainy Dijon for extra texture.
Maple Syrup or Honey: Adds sweetness to balance the savoury flavours. Choose maple syrup for a richer taste or honey for a lighter sweetness.
Balsamic Vinegar: Select a high-quality vinegar to introduce sweet acidity and elevate the sauce.
Sesame Oil: Use sparingly for a subtle, nutty note. Its robust flavour complements the sauce without overwhelming.
Chicken Breasts: Choose organic chicken breasts for the base of this dish to ensure you’re getting the best quality and flavour.
Chicken Broth: Adds depth and moisture. Use homemade broth or a high-quality store brand for best results. It’s crucial for achieving the right sauce consistency and enhancing the overall savouriness.
Fresh Chopped Parsley: Optional but recommended for a fresh, colourful garnish before serving.
With these amazing ingredients at your fingertips, you’re totally equipped to whip up a skillet chicken that’s not only scrumptious and perfectly balanced but also a feast for the eyes. Get ready to dazzle your dinner table with this one!
How to Perfectly Sear Chicken Every Time!
Alright, kitchen warriors, let’s dive into the art of achieving that perfectly seared chicken—it’s all about technique and a touch of patience! Here’s how you can turn your chicken from good to restaurant-quality with a few pro tips:
Dry Brining for the Win: Pat your chicken dry, give it a generous salt sprinkle, and then let it sit, preferably uncovered half an hour before cooking, or in the fridge, for an hour or even overnight. Trust me, it’s worth the wait!
Let it Chill Out: Start by letting your chicken hang out at room temperature for about 30 minutes before it hits the pan. This little rest helps the chicken cook more evenly and keeps it from seizing up and turning tough.
Pat it Down: Before it goes into the pan, give your chicken another pat-down to whisk away any excess moisture. This step is key for that golden, crispy sear we’re after.
Searing Chicken 101:
Pan Power: Get that pan nice and hot—medium-high heat is your friend here. A cast iron skillet is my go-to for its superb heat retention.
Oil Choices Matter: Pick an oil that can handle the heat—since a smoking pan isn’t what we’re going for.
Avoid Crowding: Avoid the urge to crowd your pan. Space out your chicken or, if needed work in batches for that perfect, undisturbed sear.
Don’t Move It: Once the chicken is in the pan, don’t move it for a few minutes. Letting the chicken sear uninterrupted allows a crust to form, which adds flavour and texture.
Check Before Flipping: The chicken will release easily from the pan when it’s ready to be flipped. If it sticks, it’s not ready yet.
Recommended kitchen tools and essentials!
For that perfect sear, I swear by my enamelled cast iron pan—Le Creuset is my go-to, but any good frying pan will do the trick.
And to guarantee your chicken is cooked just right every time, you’ve got to have an instant-read thermometer. It’s quick, accurate, and totally takes the guesswork out of checking if your chicken is done. Trust me, it’s a game-changer!
What to Serve with Chicken with Maple Mustard Sauce
Roasted vegetables: Carrots, broccoli, or Brussels sprouts offer a deliciously roasted flavour that complements the chicken perfectly.
Fluffy Rice or Quinoa: Serve your Maple Mustard Chicken over a bed of fluffy rice or quinoa to soak up all that delicious sauce.
Mashed or roasted potatoes: Potatoes provide a comforting and hearty accompaniment to the savoury chicken and sauce.
Steamed greens: Spinach, broccolini or green beans offer a light and nutritious option that balances the richness of the dish.
Side salad: A simple salad with fresh greens and French vinaigrette dressing adds a refreshing contrast to the meal.
Crusty bread: Serve with crusty bread or dinner rolls to soak up the flavourful sauce and complete the dining experience.
Easy Maple Mustard Chicken
Ingredients
- 3 tablespoons Dijon mustard
- 1,5 tablespoon grainy Dijon mustard
- 3 tablespoons maple syrup (or honey)
- 2 tablespoons balsamic vinegar
- 1/2 teaspoon sesame oil
- 4 boneless skinless chicken breasts, preferably organic (ca. 700 g)
- sea salt and freshly ground pepper, to taste
- 2 tablespoons olive oil
- 1/2 cup chicken broth (125 ml)
- Fresh chopped parsley, for garnish
Method
-
In a small bowl, whisk together both types of mustard, maple syrup, balsamic vinegar, and sesame oil until well combined. Set aside.
-
Pat the chicken breasts dry with paper towels to ensure a crispy sear. Season generously with salt and pepper on both sides.
-
Heat olive oil in a large non-stick skillet over medium-high heat. Once hot, add the chicken breasts and sear for about 4 minutes per side until golden brown and nearly cooked through. Transfer the chicken to a plate and set aside.
-
Reduce heat to medium, pour in chicken broth, deglaze skillet, add mustard sauce, and bring to a gentle simmer.
-
Return the seared chicken breasts to the skillet, along with any accumulated juices. Spoon the sauce over the chicken and continue to cook over low heat for an additional 4-5 minutes, or until the chicken is cooked through and the sauce has slightly thickened.
-
Remove the skillet from heat. Sprinkle freshly chopped parsley. Serve immediately, spooning the flavourful sauce over each portion. Enjoy!
Notes
Enhance Flavour with Dry Brining:
Boost the juiciness and flavour of your chicken breasts by dry-brining them. Place the chicken in a bag or between parchment paper and gently pound to an even thickness. Thirty minutes before cooking, massage a little salt into the chicken, then brush it off. This process not only seasons the meat thoroughly but also helps retain moisture and aids in browning for perfectly succulent chicken breasts every time.
Storage & Reheating Tips:
Storage: Leftovers of this chicken recipe will keep for 3-4 days in the fridge in an airtight container.
Reheating: Warm gently in a skillet over low to medium heat, adding a splash of chicken broth or water to prevent drying out. Alternatively, reheat in the microwave, covered with a damp paper towel.
Sauce: If sauce thickens in the fridge, thin it out with chicken broth or water when reheating. Taste and adjust seasoning as needed.
Meal Prep: Consider portioning leftovers for easy grab-and-go meals or repurpose into sandwiches, wraps, salads, or pasta dishes.
For a relaxing atmosphere in the kitchen I recommend my personal Elle Republic: Chilled Out Kitchen Tunes Playlist on Spotify.
 Did you try this recipe?
Then tag @ellerepublic on Instagram and hashtag it #ellerepublic
How did you like it?
Please let me know how this Chicken with Maple Dijon Mustard Sauce recipe turned out for you! I would love to hear how you liked it. Simply rate it with the stars above ⭐ or leave me a comment and rate it below.
Did you make any changes to this recipe?
If you have tips for other readers, let me know! It helps me and other readers so much. Sharing is Caring :-).
This post contains affiliate links. If you decide to make a purchase through my link, Amazon will pay me a commission for it. This doesn’t cost you anything additional and the price remains the same. More about advertisements on Elle Republic.


